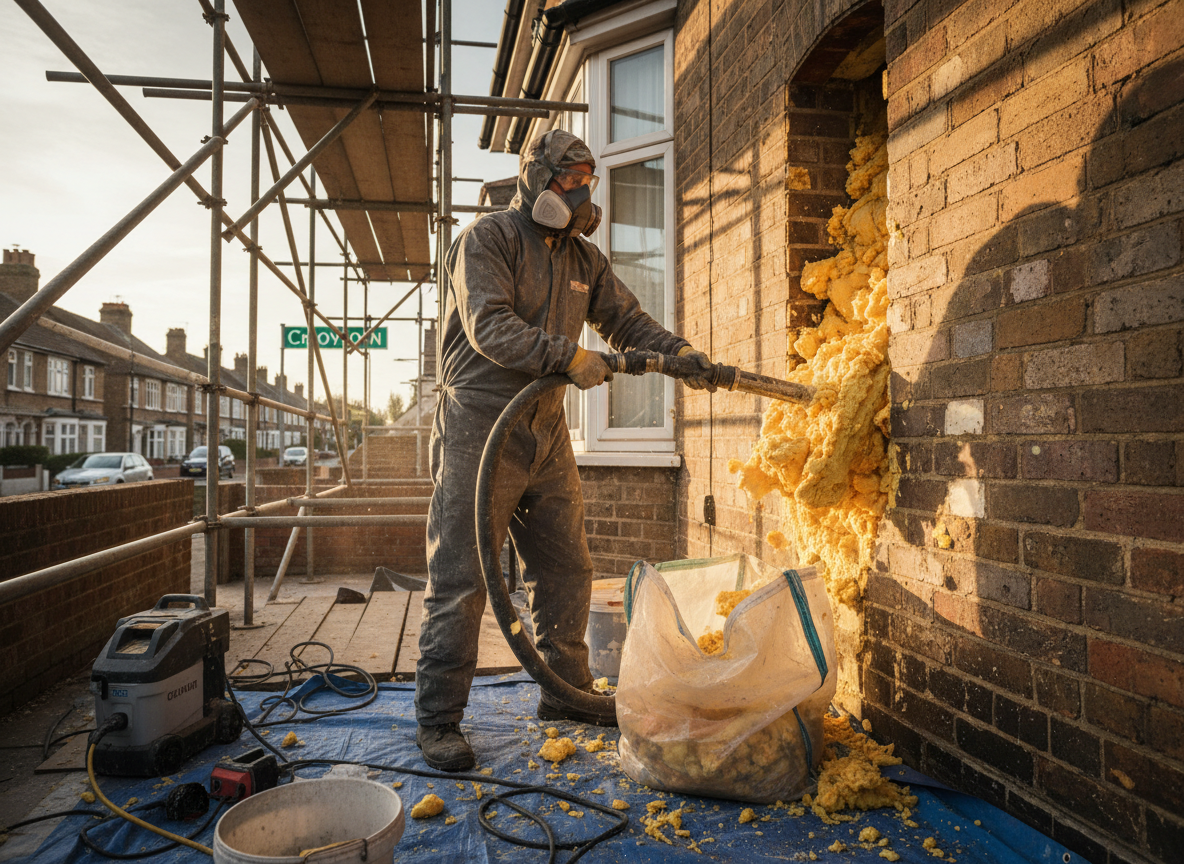
Croydon terraces built between the wars and into the 1960s often used urea-formaldehyde or polyurethane cavity fill that now traps rain against the inner leaf. Once winter temperatures drop and the wind drives water through the mortar joints on roads like Junction Road, the foam holds moisture against the brick, leading to spalling and black mould on internal plaster. Removal requires cutting access slots at the base of each cavity and using low-pressure extraction tools to pull the material out without cracking the original brickwork.
Many properties near East Croydon station have narrow cavities that were over-filled, so the foam bonds to both leaves and to wall ties. Forcing it out risks pulling the ties loose, which is why we map the wall with an endoscope first and work in short sections. The wet climate means we often find the foam has already started to degrade into a sticky residue that clings to the brick; solvent wipes and mechanical brushing are needed before the cavity can be left open to dry.
Building control in Croydon requires that any cavity work on pre-1980s homes leaves the wall in a state that meets current ventilation standards. We leave the cavities clear unless the owner chooses to install mineral wool batts later, and we always photograph the wall ties and any existing damp-proof course before we close the access points.
Technician insight
In Croydon, the thing that catches most people out with Cavity wall spray foam removal is the older terraces around Junction Road where decades of driving rain have turned the foam into a damp sponge bonded to the brick; trying to rip it out in one go usually cracks the inner leaf and leaves wall ties hanging.
Foam Removal on a 1950s Croydon Semi
The owner noticed persistent damp patches on the gable wall after heavy autumn rain. We found the cavity fully packed with degraded polyurethane that had bridged the damp-proof course. We cut base slots, extracted the material section by section, cleaned the residue and left the cavity open for two weeks before repointing. The wall dried out and the internal plaster stayed intact.
How it works
- 1
Site Survey and Endoscope Check
We inspect the external brickwork and use a camera to confirm foam type, cavity width and wall-tie condition before any cutting begins.
- 2
Access Slots and Material Extraction
Small slots are cut at the base of each cavity; low-pressure vacuum tools pull the foam out in stages while protecting the surrounding brick.
- 3
Residue Removal and Wall Drying
Any remaining film is brushed or wiped away and the cavity is left open long enough for the inner leaf to dry before re-pointing.
- 4
Making Good and Final Inspection
Slots are repointed to match the original mortar and a final camera check confirms the cavity is clear and the ties are intact.
Pricing
Cost depends on number of walls, foam depth and access difficulty; we quote after the survey rather than by the square metre.